


Garden Pavement Mold Jardin Walk Pathmate Concrete Mould DIY Paving Cement Brick Stone Road Concrete Molds Tuin Decoration
Color:
Ships From:
Buy With Confidence
100% Safe Payment
;


You May Also Like...
 -15%
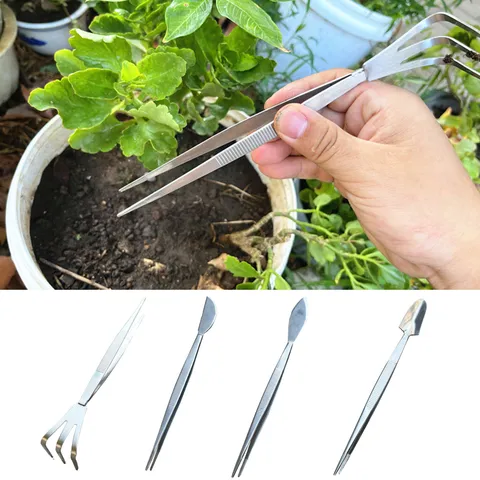
-15%Garden Bonsai Tweezers Dual Head Gardening Plant Tweezers For Loosening Pressing Weeding Fertilizing Home Garden Pruning Tools
R207.86
R176.65
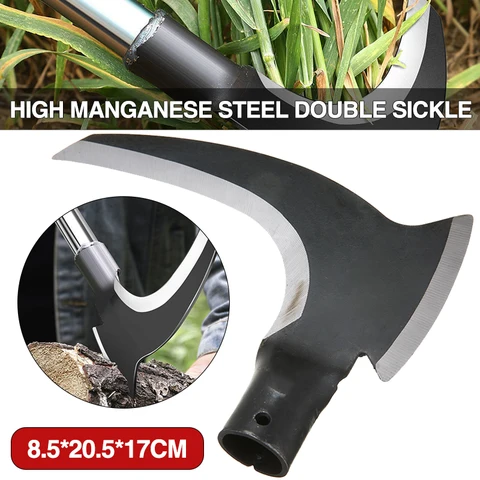
1pc Double-edged Grass Sickle Cutter High Manganese Steel Scythe Fit for Tree pruning Bamboo Gardening Grass Sickle Farming Tool
R329.03

Garden Tools Secateurs Bonsai Shears Metal Gardening Scissor Pruning Tool Hand Cutter Grape Fruit Picking Weed Household Potted
R138.51
 -15%
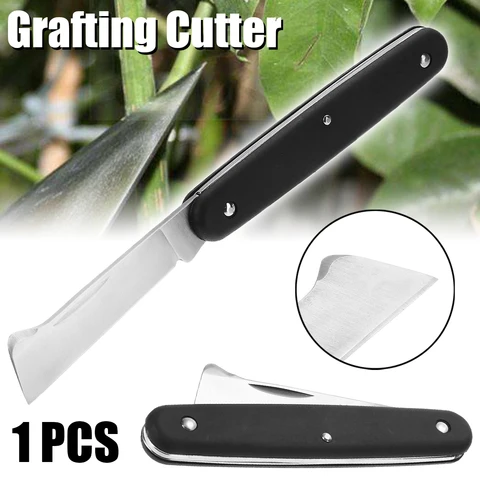
-15%1PC Stainless Steel Grafting KnifeFoldable Multifunctional Plant Pruning Tool Garden DIY Hand Tool Accessories
R207.86
R176.65
 -15%
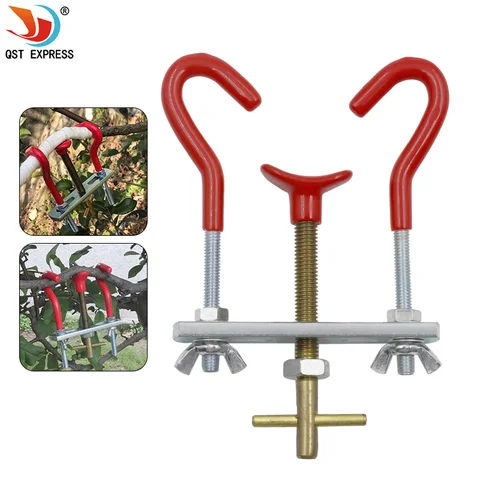
-15%Pruning device curved bonsai DIY modeling tool tree trunk adjuster bending device bending device
R207.86
R176.65
Description
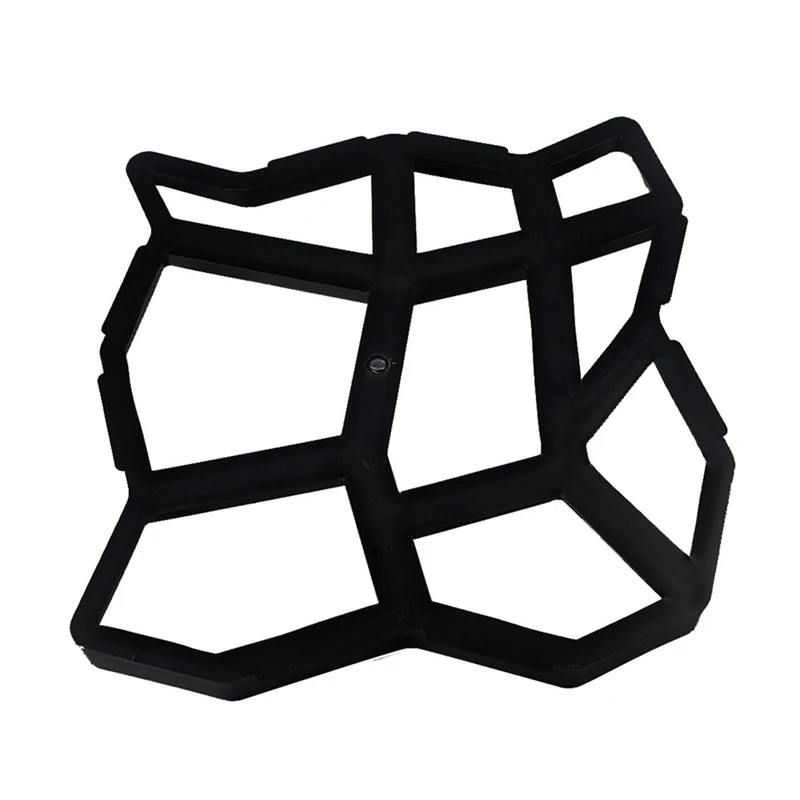
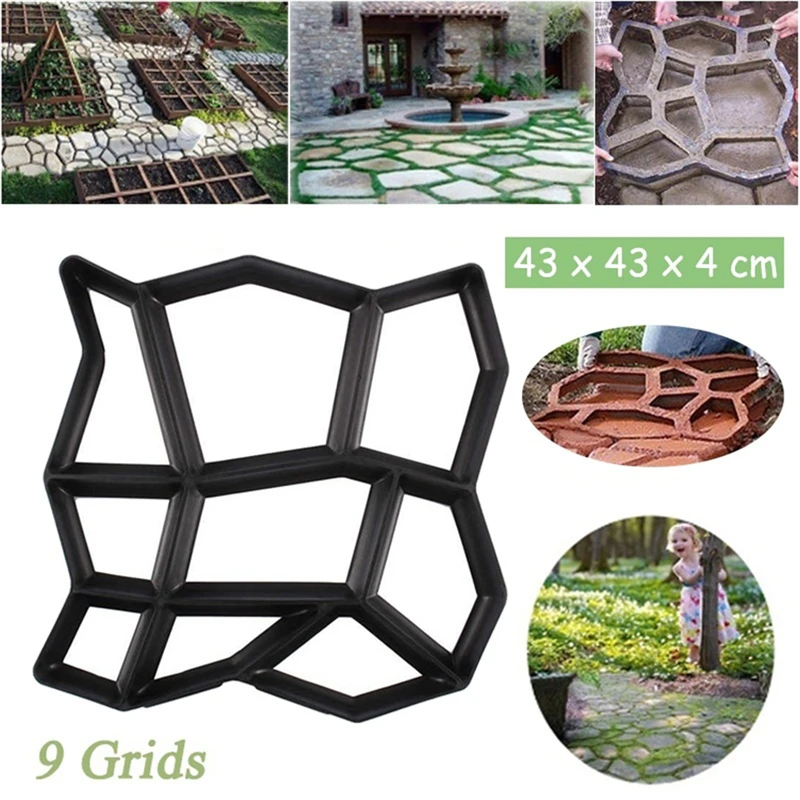
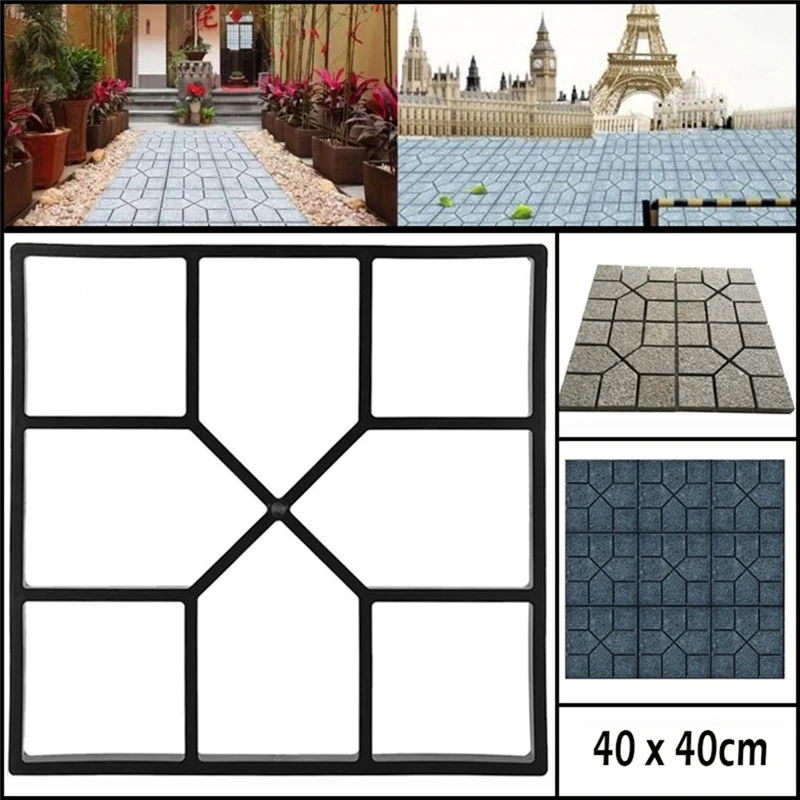
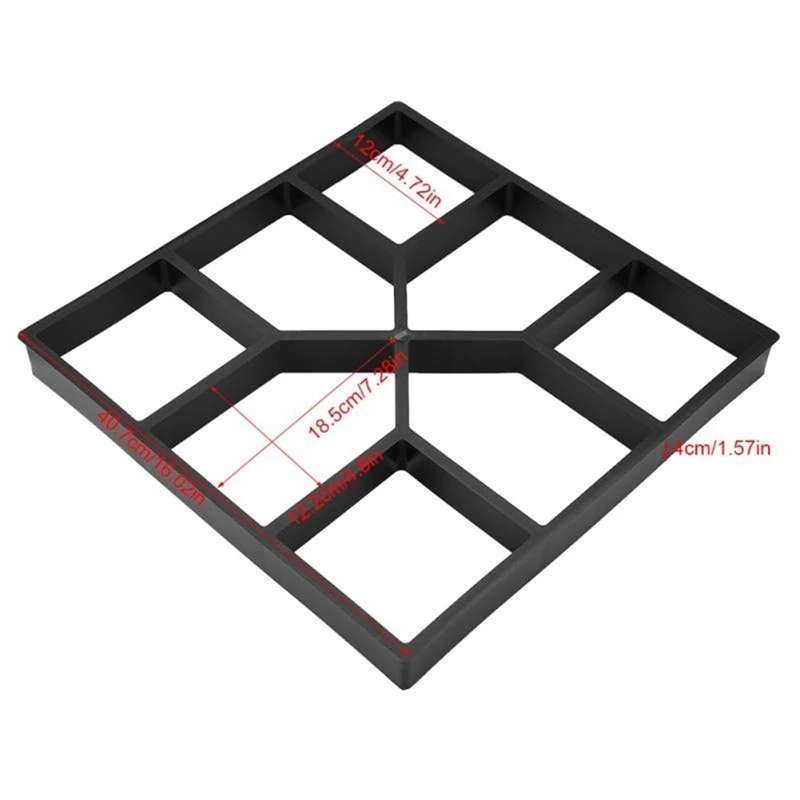
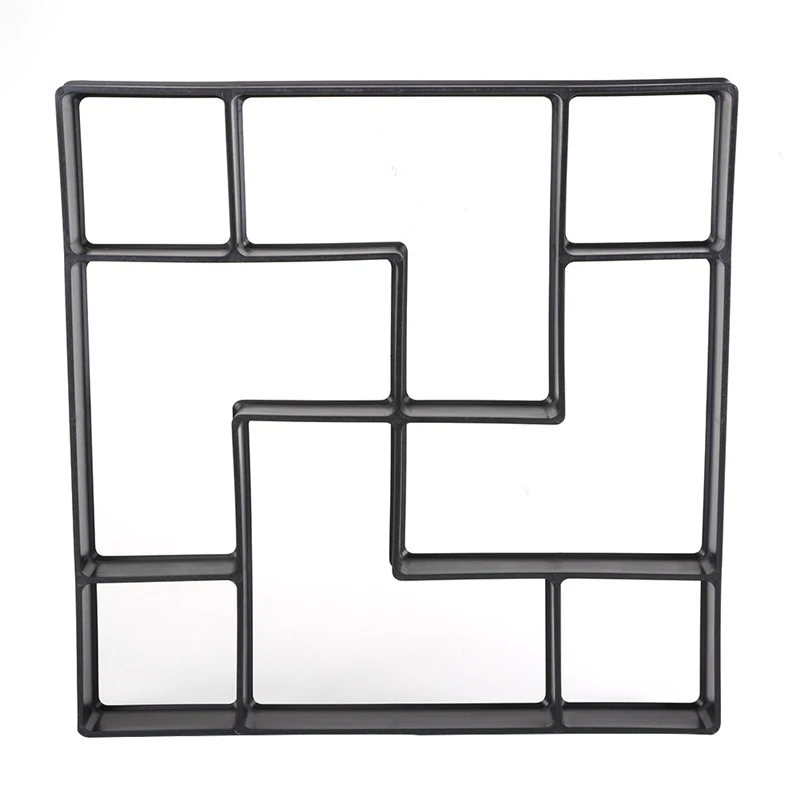
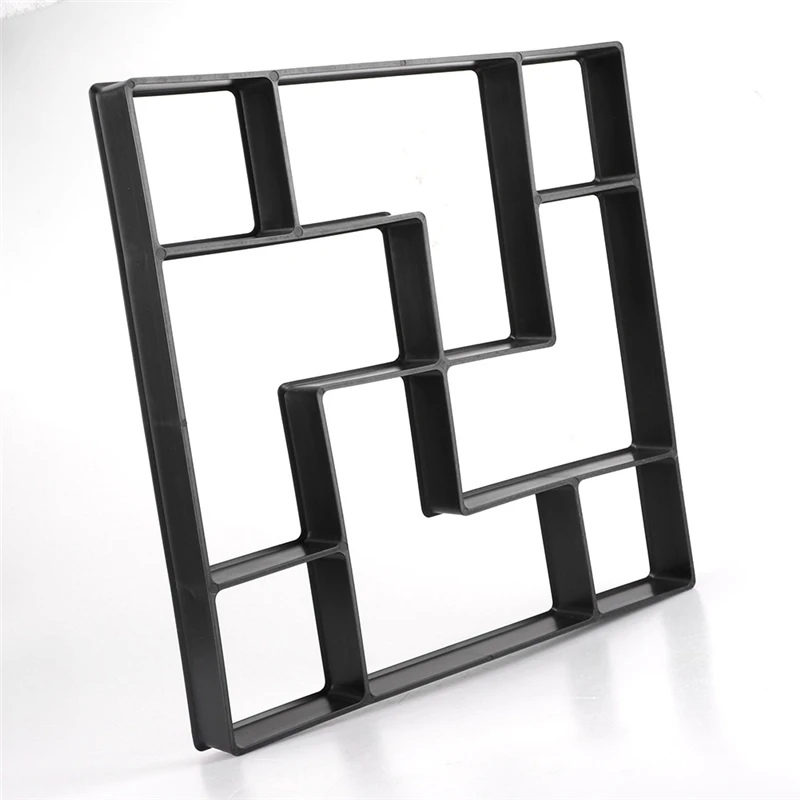
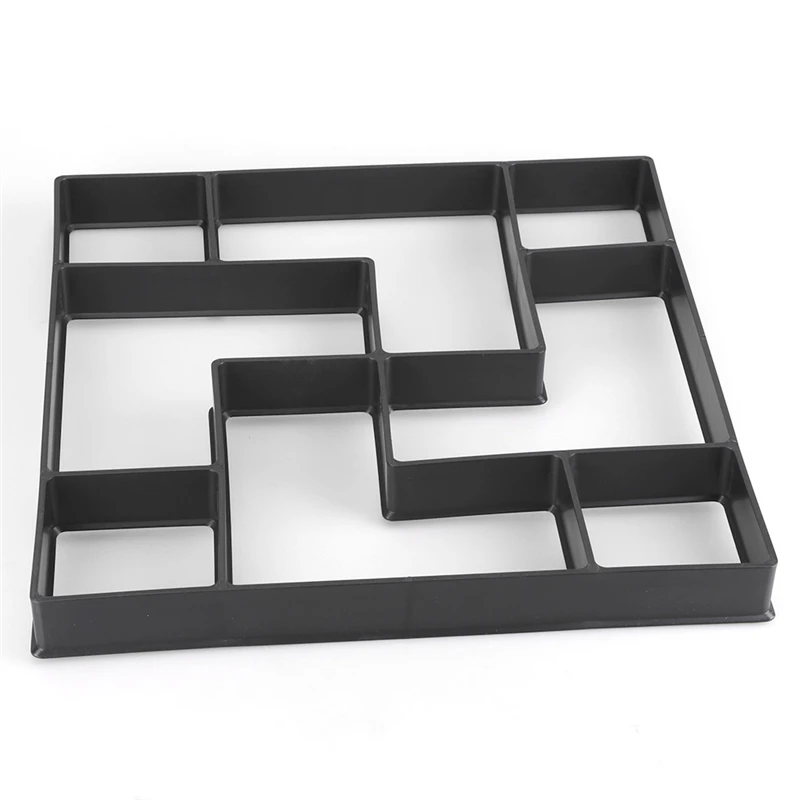
 Garden Walk Pavement Mold DIY Manually Paving Cement Brick Stone Road Concrete Molds Path Maker
Features:
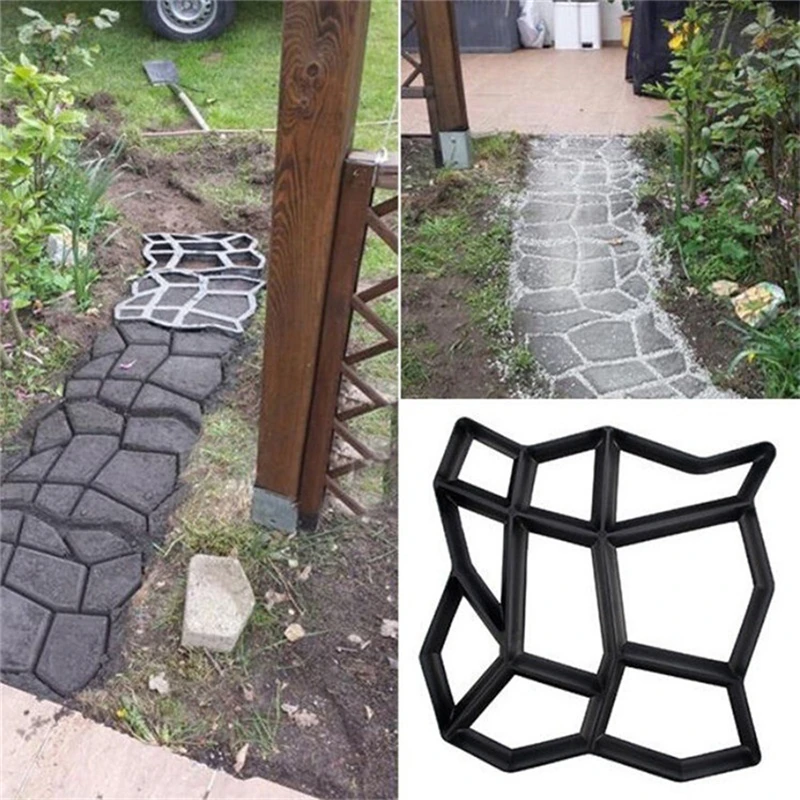
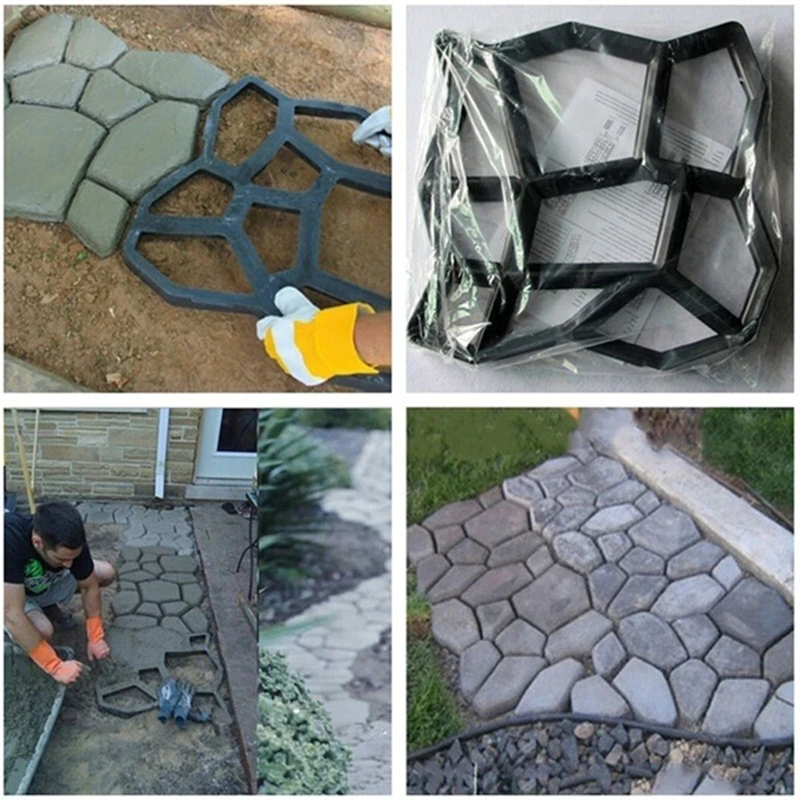
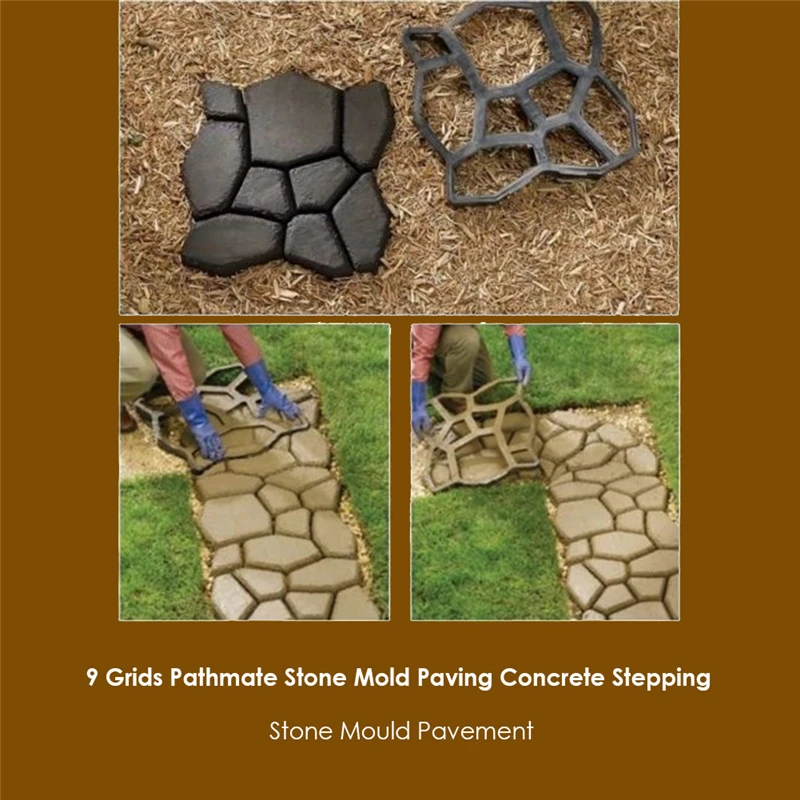
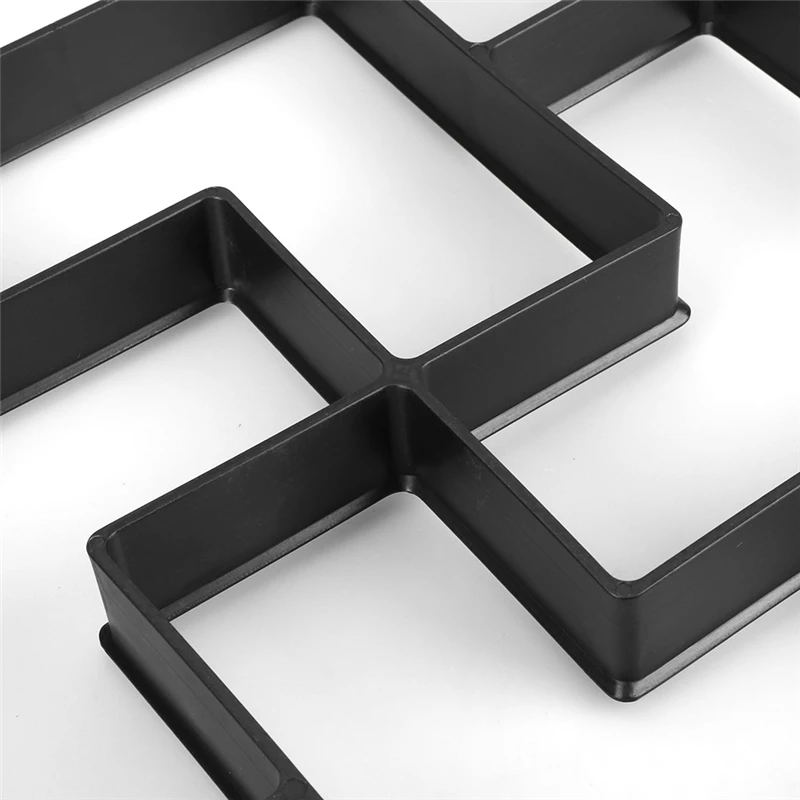
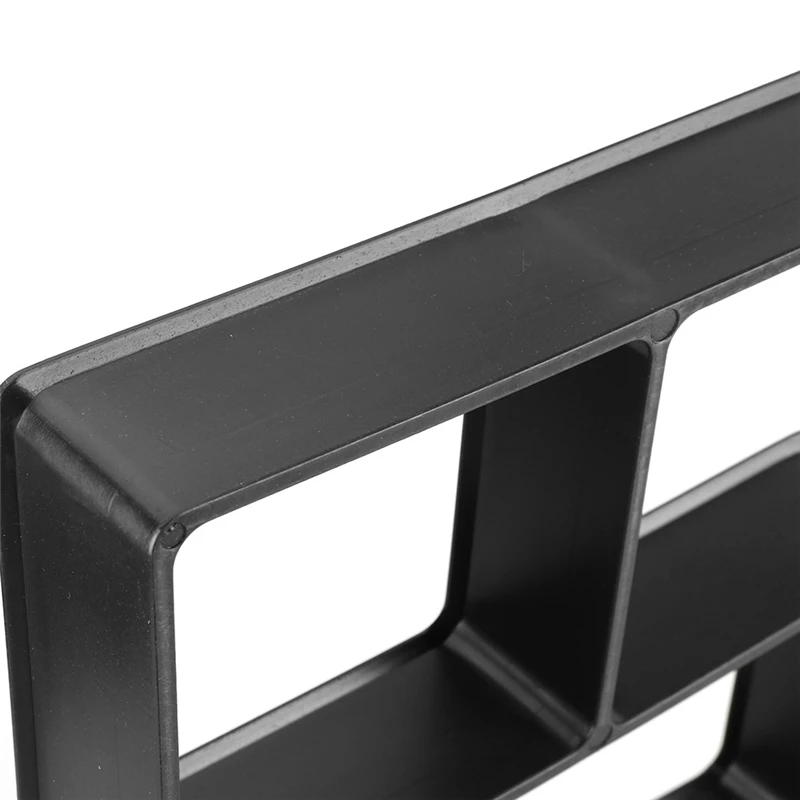
1. Very practical garden tools – Concrete garden molds will help you decorate your backyard landscape. 2. Use heavy-duty plastic molds to turn some pre-mixed concrete into concrete garden stepping stones for easy access to the garden.
3. By using garden stepping stones as your path, the beauty and health of your plants.
4. Spray the cleaning mold with a garden hose for reuse.
5. Once the first garden stepping stone is watered, the garden stone mold can be used again.
6. Ideal for creating sidewalks, sidewalks, trails, terraces, picnic areas and other outdoor finishes.
7. Enjoy DIY’s personal philosophy with stone molds and create beautiful paths in your garden right away.
8. DIY plastic molding paving mold is a personalized brick mold, the effect of laying is like a stone.
9. Make the path more exotic and create a style that belongs to your own garden path.Instructions:
step 1:
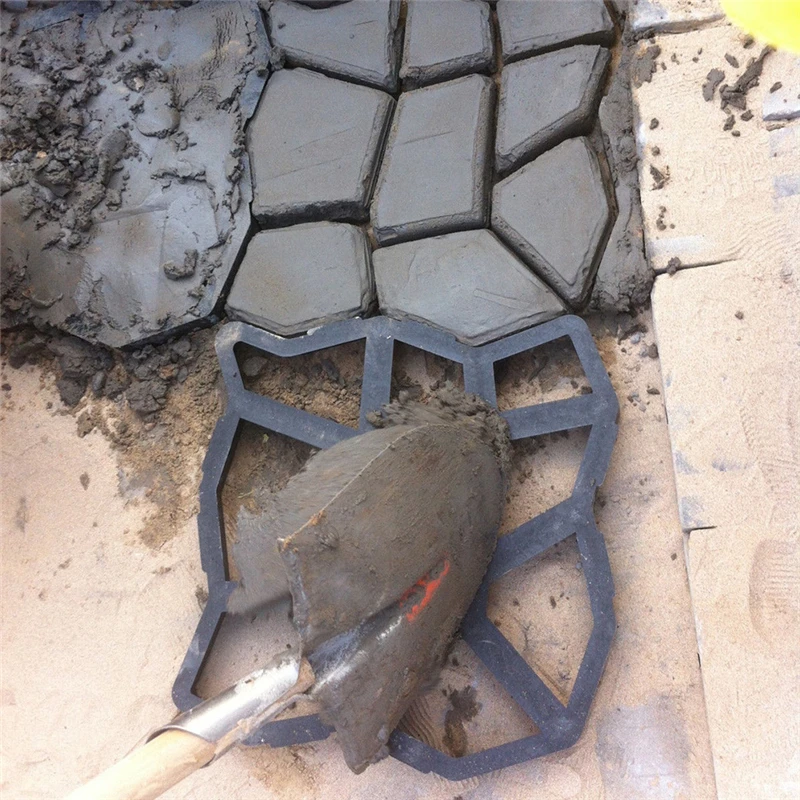
Mix the cement with water according to the packing instructions. When ready for use, the concrete will be the consistency of the oatmeal and thick enough to hold the edges when cut with a shovel.
Step 2:
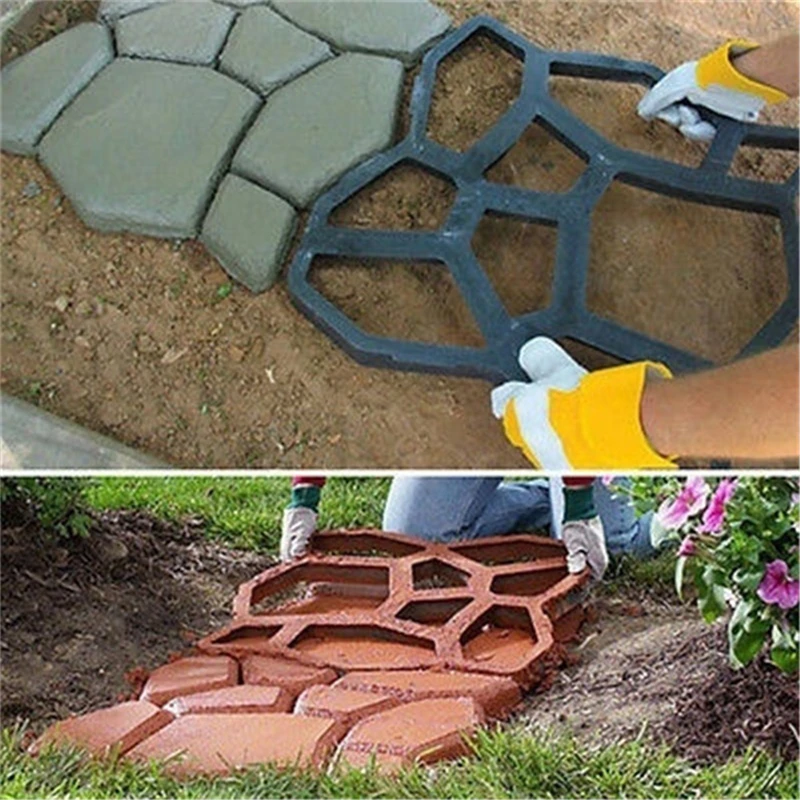
Fill the paver mold, plow the concrete with a shovel and make sure to fill each area.
Step 3:
Use rubber gloves to spread the concrete around the mold and fill any gaps or low points. Tap the mold by hand to remove any air bubbles.
Step 4:
Smooth the concrete according to the CONTOUR of the mold and wipe off the excess.
Step 5:
Allow the concrete to set up to five minutes and carefully remove the mold. For the next stretch, rotate the mold a quarter turn and place it next to the paver you just finished. If you are creating a curved path, tilt it slightly.
Step 6:
After allowing the concrete to solidify overnight, fill the crack with dirt and rinse off the excess. Wet the ground around the newly formed paver to help them settle.Notes:
Please allow 1-3mm differs due to manual measurement.
Due to the different display and different light, the picture may not show the actual color of the item.Thanks for your understanding.
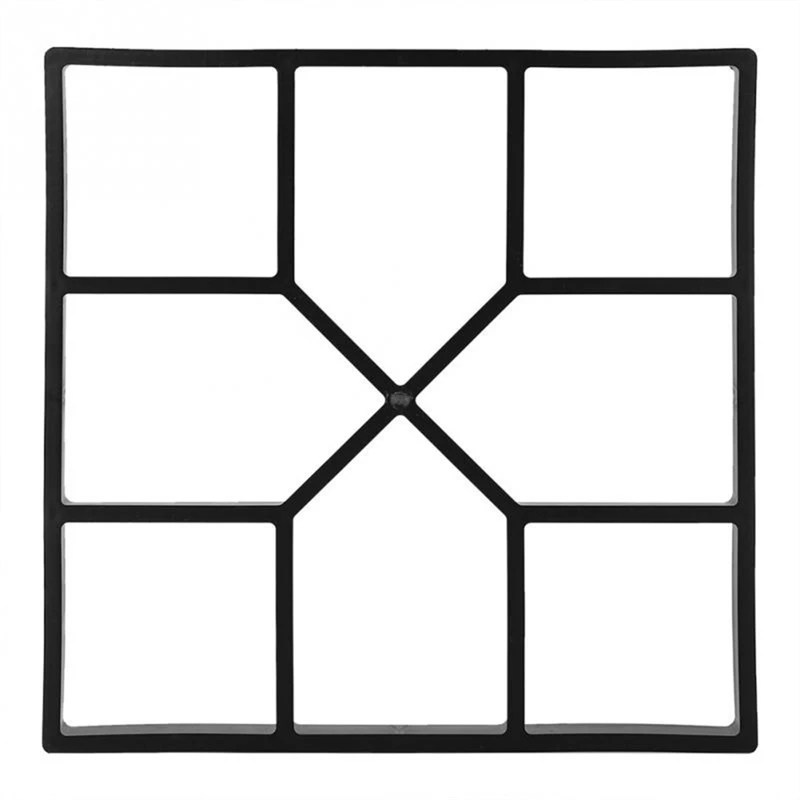
 1 x Pavement Mold
 A STYLE
B STYLE

C STYLE
D STYLE


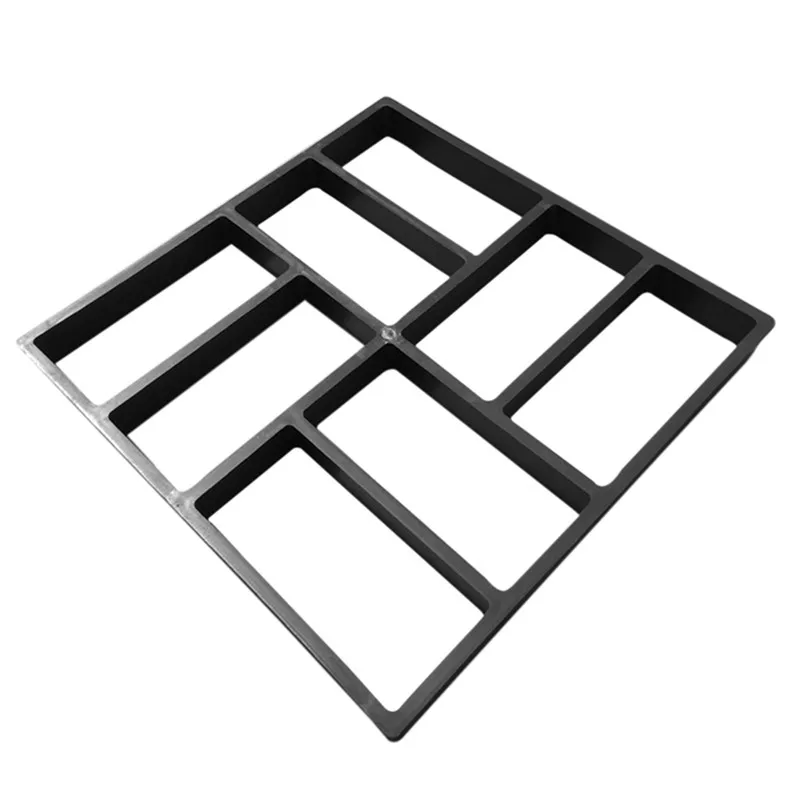
E STYLE





Follow us on: